Spring Container Gardens Gardening Series
- Jennifer Stephens

- Mar 15, 2023
- 3 min read
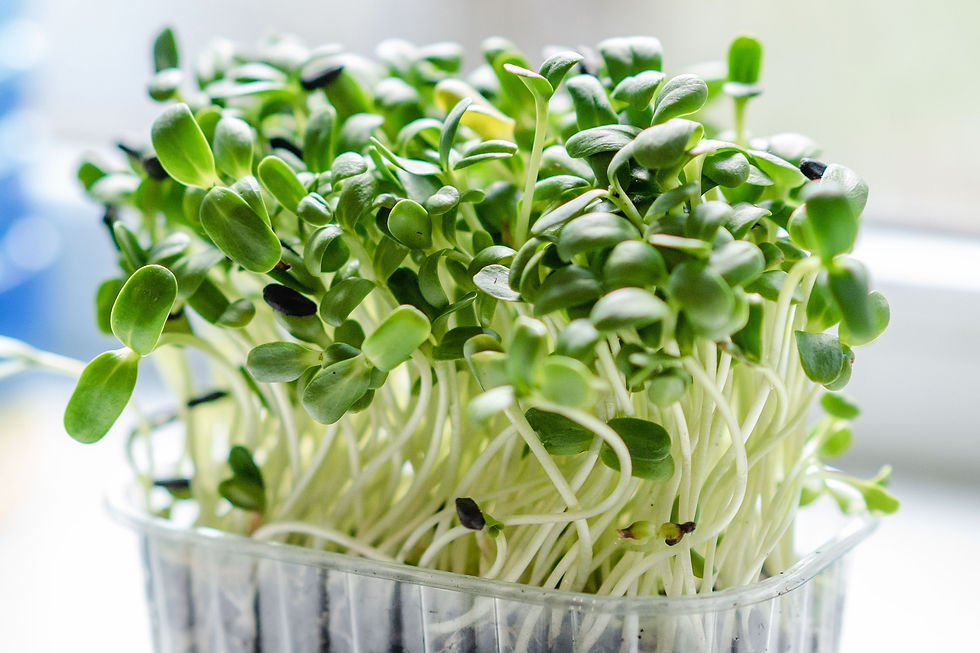
March is the month of St. Patrick's Day, so lets begin the container gardening series with Microgreens. Microgreens are a rich source of antioxidants and nutrients such as iron, potassium, zinc, magnesium, and copper.

What I love about microgreens, is their spicy, crunchy, fresh flavor and texture. They liven up most sandwiches, wraps, and salads, they are even good in smoothies. Microgreens are a delight to grow because they produce immediate results. They are quick to start, grow and harvest. Microgreens are challenging to find at local stores and expensive to buy, but inexpensive and readily available when grown in your garden.
Why Container Garden?
Container gardening adds dimension, color, and interest to your garden. It saves space, reduces pest problems, and solves soil issues. It also is a good workaround for people unable to work their garden on the ground, due to health issues. Container gardening is a great way to grow fresh veggies and flowers all year round.
In this series, I want to explore Microgreens and how to grow them.
Microgreens are small edible plants that are harvested when they are only a few inches tall. They are easy to grow and can be grown indoors in containers. Here are a few tips to help you get started with growing microgreens in your own indoor container garden.
Choose the right container.
When growing microgreens in containers, it's important to choose the right type of container. You can use any type of container that has drainage holes in the bottom, such as a plastic, ceramic, or clay pot. Be sure to choose a container that is the right size for your microgreens. If you're growing them on a windowsill, choose a container that will fit easily on the sill. Aeroponic Tower Gardens are also a great choice for growing microgreens and require no soil.
Select the right soil.
When growing microgreens, it's important to use the right type of soil. You can use a commercial soilless mix, or you can make your own by mixing equal parts of peat moss, vermiculite, and perlite. Be sure to moisten the soil before planting your microgreens.
Choose the right seeds.
When choosing seeds for microgreens, be sure to select seeds that are specifically labeled for microgreens. You can find microgreen seeds at most garden centers or online. Some popular microgreens to grow include arugula, radish, and mustard.
Plant and care for your microgreens.
To plant your microgreens, simply scatter the seeds over the moistened soil. Be sure to plant them evenly and don't overcrowd the container. Cover the seeds with a thin layer of soil and mist them with water. Place the container in a warm, bright location, such as a sunny windowsill. Be sure to mist the microgreens daily to keep the soil moist.
Harvest your microgreens.
Most microgreens will be ready to harvest in about two weeks. Simply cut the microgreens at the base with a pair of scissors. Rinse them thoroughly under cool, running water and pat them dry with a paper towel. Microgreens are best eaten fresh, so be sure to harvest just enough for your needs.
Growing microgreens can be a fun and rewarding hobby, it can even be a lucrative co-op business endeavor. With the right container, soil, seeds, and care, you can enjoy a steady supply of fresh microgreens all year round. Give it a try and see how easy it is to grow your own microgreens in an indoor container garden. I would love to hear from you and see what veggies, flowers, and microgreens you are growing this year and learn about how it has improved your life.
Great Resources to help you get started with microgreens
Microgreen Container Gardens- Aeroponic Tower Gardens. Indoor and Outdoor growing. Start yours for under $100 ask me how.


Comments